How to Set Up Your Plate Carrier


The Right Way to Assemble Your Plate Carrier
If you use a plate carrier vest for tactical purposes, setting it up correctly and ensuring that it fits is an important yet complex process. A plate carrier contains many components that you need to pay close attention to in order to ensure that you will be served well. Don’t rush to put on your plate carrier – instead, consider the instructions below.
What is a Plate Carrier?
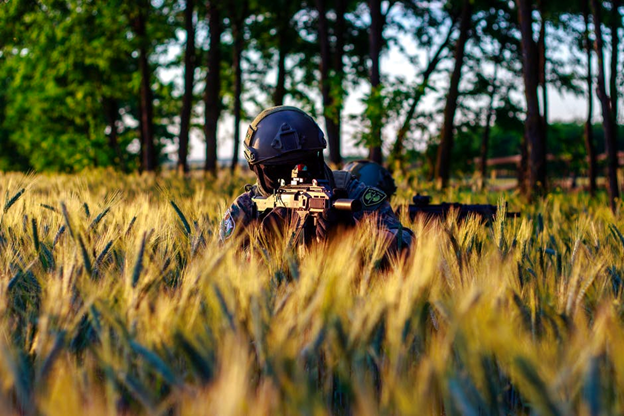
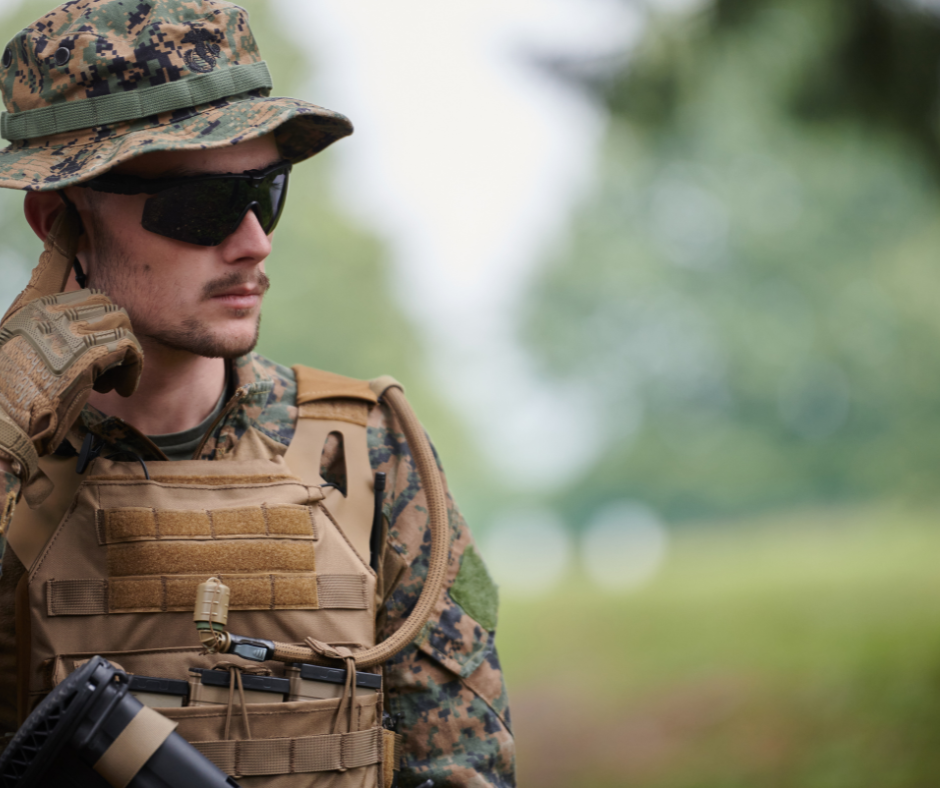
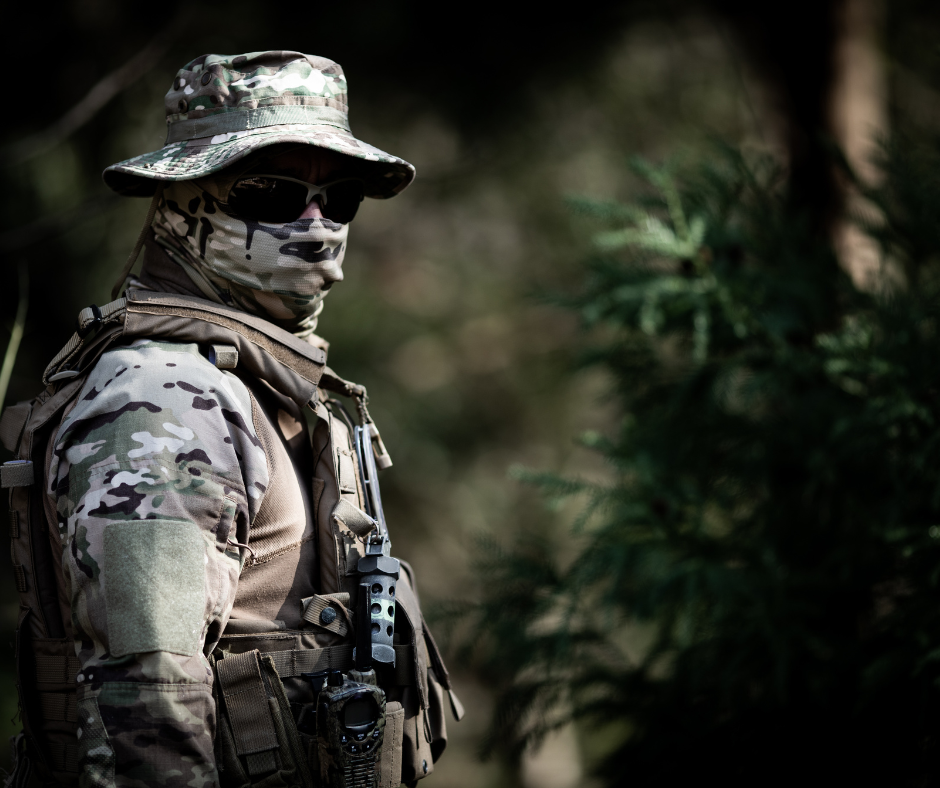
A plate carrier is a type of vest that does what its name implies – it carries armour plates. Additionally, they have the necessary straps and components to hold plenty of equipment, which is a useful trait for complicated tactical endeavours.
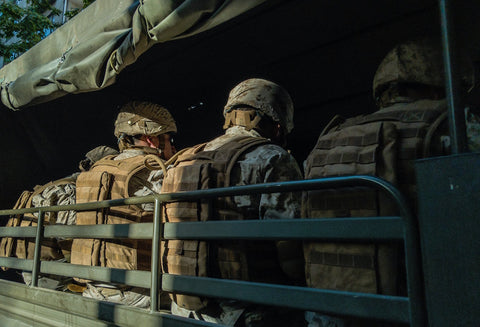
These vests are often worn by tactical professionals in military or law enforcement, but they have become increasingly popular for civilians who like to incorporate the heavy vest into their exercise routine.
READ MORE: Incorporating a Plate Carrier Into Your Workouts
Things to Consider When Choosing a Plate Carrier
Plate Carriers Pros and Cons
Plate carriers are one of many types of tactical vests, and it is ultimately up to you to determine whether or not this is the type of vest for you. Consider the benefits and drawbacks that plate carriers provide:
- Plate carriers offer a relatively high amount of protection
- Plate carriers are customizable, as they allow you to add or remove weight, as well as change where the weight is placed
- Plate carriers can end up being quite heavy, and can unexpectedly wear you down
Size and Fitting
We can’t stress enough the importance of ensuring that your vest fits well. If your vest is too tight or too loose, it will become a distraction, and your tactical goals will be essentially compromised. Later in this article, we’ll explain the steps you need to take to put on a plate carrier vest and make sure it fits.
Types of Armour Plates
Not all armour plates are made equal. You may choose between Kevlar (soft armour) or ballistic plates (hard armour), depending on your particular goals. Or, you may choose to use both.
Despite its name, soft armour is pretty strong, though it is also light and flexible. Most soft armours can protect against pistol and shotgun bullets, but do not defend well against rifle cartridges. Each brand of armour differs, though, so you should take careful consideration.
Hard armour plates, meanwhile, are made from stronger materials, like steel or ceramic. In most cases, these are heavier but offer more protection. Again, each brand differs.
Gear Placements
The great thing about plate carriers is that they are completely customizable, so you can put each piece of equipment wherever you’d like. You should do this strategically. With weapons, magazines, first aid equipment, a flashlight, and much more, there’s plenty for you to think about. We’ve developed recommendations for what you might choose to place at your front, back, and sides. They are listed later in the article.
READ MORE: Comparing Armour Options – Vests Vs. Plate Carriers
Steps For Configuring Your Plate Carrier
Fit It Properly
Your vest needs to fit well – otherwise, you’ll find yourself distracted by loose clothing, or your movement will be restricted from the tightness. When you put your vest on for the first time, do it this way:
- Start by putting the front plate straight on your torso adjust so it aligns with where your collarbone and sternum meet.
- Straighten and tighten the straps so the front plate is aligned properly.
- Then, make sure the side straps are tightened evenly.
- Lastly, you’ll do the back plate. You may need a mirror or a partner to help you ensure that the back plate is aligned to the front.
This order will ensure that there are no problems at any point in the fitting process. When you’re done, make sure you try a few activities like jumping and twisting to ensure that nothing comes loose.
Determine How Much Space There Is
Now it’s time to start putting gear and armour plates on your plate carrier. Before you do that, however, you should figure out how much you can actually manage to fit. The last thing you want to do is wear yourself down with equipment that you don’t actually need. By taking a realistic approach to your gear assembly, you’ll be able to fill your carrier in a way that actually serves you.
Assemble
Finally, it’s time to start packing on plates and gear. Make sure you place everything on your carrier in a way that gives your body a comfortable balance. Make sure that everything is attached correctly, as loose gear is not only distracting but hazardous as well. Check out our suggestions for what you should put on each panel below.
Pack Your Front Panel
The front panel is the most accessible and visible part of your carrier, so you’ll want to pack it with items that need to be reached easily. These might be magazines or communications equipment. Just make sure you don’t pack too much and create a bulky, uncomfortable panel.
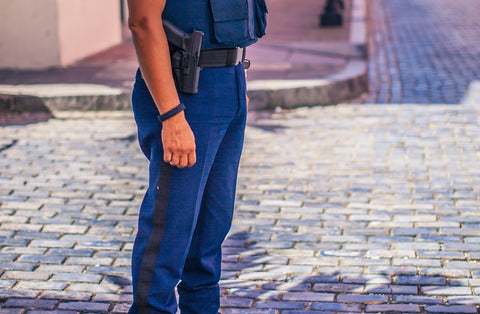
Pack Your Side Panel
It’s likely that you’ll already be placing a firearm on your side, so you don’t want to pack too much else in its way. Medical kits and small utility items are best placed at the side.
Pack Your Back Panel
You may choose to keep the back panel empty for the sake of comfort, but it can otherwise provide plenty of space for items like magazines or radios. Otherwise, you may use a backpack.
READ MORE: Tips for Cleaning and Maintaining Body Armour
By preparing your plate carrier carefully, you’ll set yourself up for success, no matter what your tactical mission entails. Check out our selection of vests here.